Creating a calendar for any process is essential for maintaining order and streamlining the steps to success. This is especially true when running a marketing content strategy and managing multiple social media channels.
Having a Google Sheets calendar helps keep track of posts, ensures consistent content delivery, and improves overall strategy execution.
In this blog, we’ll explore how to make your own content calendar in Google Sheets, using various templates to simplify the process and keep your expenses low.
Why Use Google Sheets for Your Content Calendar?
Google Sheets is a versatile and free tool that provides easy access and collaboration features, making it an excellent choice for creating and managing your content calendar. Here, we’ll discuss how to quickly create a calendar in Google Sheets, answer some common questions, and provide step-by-step guidance.
How to Make a Calendar in Google Sheets

Step 1: Open Google Sheets
First, navigate to Google Sheets. If you don’t have a Google account, you’ll need to create one.
Step 2: Create a New Sheet
Click on the “Blank” option to create a new spreadsheet.
Pro tip: Open a new tab in Google Chrome and type “sheets.new” into the address bar for a new fresh spreadsheet.
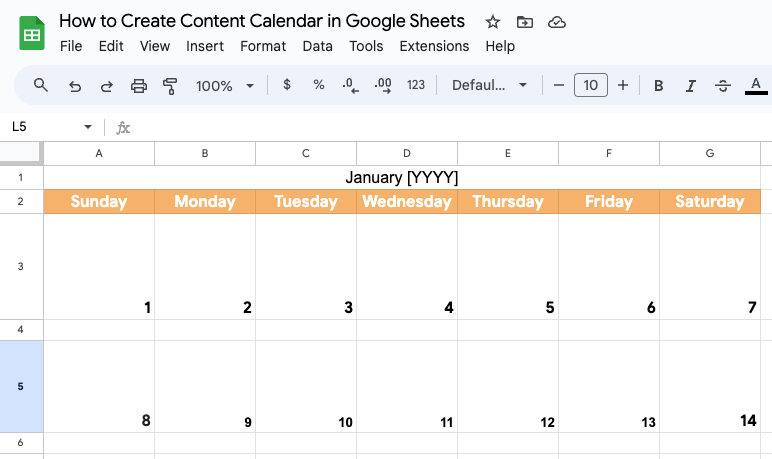
Step 3: Set Up Your Calendar Layout
- Name Your Sheet: Click on the default name at the top left and rename your sheet to something like “[year] [company] Content Calendar.”
- Add Headers: In the first row, add headers such as Date, Day, Platform, Content Type, Topic, Post Copy, Media, and Status.
Step 4: Input Dates
- Starting Date: In the first column, start with the date you want your calendar to begin.
- Auto-Fill Dates: Drag the bottom right corner of the cell down to auto-fill subsequent dates.
Step 5: Format Your Calendar
- Highlight Weekends: Use conditional formatting to highlight weekends to differentiate them from weekdays.
- Freeze Header Row: Freeze the first row so that headers remain visible as you scroll.
Step 6: Add Content Details
Fill in the details for each post, including the platform (e.g., Facebook, Twitter), type of content (e.g., Blog Post, Video), and other relevant information.
Using a Content Calendar Template in Google Sheets
If setting up your own calendar seems daunting, you can use a pre-made content calendar template in Google Sheets.
How to Access Google Sheet Calendar Templates

- Template Gallery: Click on “Template Gallery” in Google Sheets.
- Search for Calendar Templates: Look for a calendar template that fits your needs. Templates such as “Social Media Calendar” can be customized for content planning.
- Customize the Template: Modify the template to include the headers and fields you need for your content planning.
Benefits of a Social Media Calendar Template Google Sheets
- Organization: Keep track of all your posts across different platforms in one place.
- Collaboration: Easily share your calendar with team members.
- Flexibility: Customize templates to fit your specific needs without any additional cost.
Explore More Ways to Grow on Social Media
Creating a content calendar in Google Sheets is an effective way to plan and manage your social media posts without incurring additional expenses.
Whether you set up your own from scratch or use a pre-made template, a well-organized content calendar can significantly enhance your social media strategy.
Follow the steps outlined above, and you’ll be on your way to more structured and successful content planning.
Share:
How to Increase Your Reach on IG to Non-Followers This Year!
Using Instagram Reels Templates for Faster Content Creation